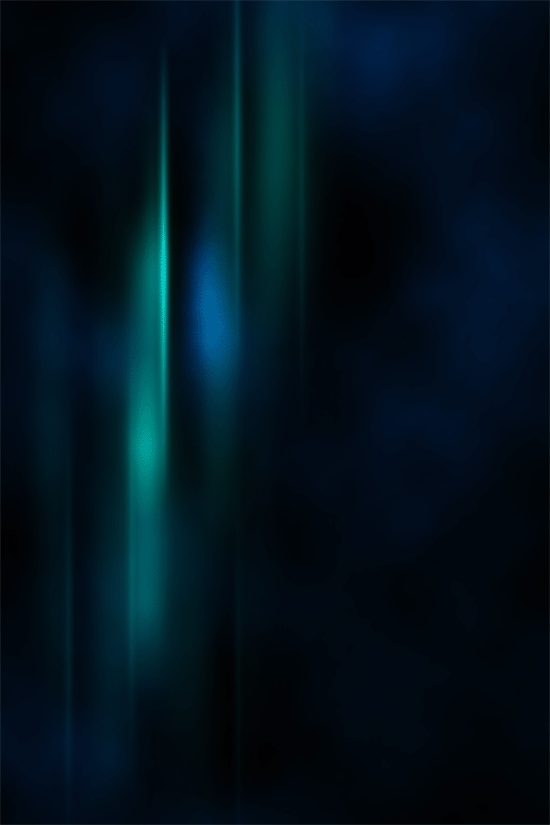
The tutorial teaches to create abstract dark lines background in photoshop. This tutorial is very nice.
Step 1
Let's start out by creating a new file. I used a 550x900 pixels canvas set at 72dpi, and I filled my background with a black color. [Edit:] Go to Filter > Render > Clouds. Select black (#000000) for the first swatch and a dark blue (#002266) for the second swatch. (thanks lucy and crusado!)
Step 2
Create a new layer set and name it 'Abstract Lines'. Now select the brush tool and set the size to 45 px soft brush. In a new layer paint a medium sized line with # 006C6A color shade as shown below.
Step 3
Go to Filter > Blur > Motion Blur, apply the settings below to the paint line layer. If your results are thin in color just duplicate the layer and merge them both.
Step 4
Under Layer Style(Layer > Layer Style) add an Inner Shadow and Gradient Overlay blending options to your motioned paint layer.
Step 5
Duplicate the motioned paint layer without any layer styles attached. Position it on the right side and set the layer's blending mode to Color Dodge. Duplicate this layer so the dodge effect is thicker on the design.
Step 6
Once again duplicate the motioned paint layer without any layer styles. Position it as shown below, finish it off by duplicating the layer so its thicker on the design.
Step 7
Duplicate the 'Abstract Line' layer set and merge it by going to Layer > Merge Layer Set. Make sure you have the layer set highlighted on the layers window or the merge option won't be active. position the layer design next to the original abstract line. Then set the layer's blending mode to Lighten at 46%opacity level.
Step 8
Now duplicate the lightened layer from the last step by 3 to 4 times and position this designs all over the canvas. Make each copy unique with a different opacity levels.
Step 9
Add a marquee selection around your canvas and go to Edit > Copy Merged. Then go back to Edit > Paste, this should add a new layer with a copy of your current design. Set the layer's blending mode to Hard Light at 49% opacity level.
Step 10
Copy your current design as shown on step nine then use rotate option on Edit > Transform.
Results


1 Comments
very lovely. I hope I can recreate it.
ReplyDelete